
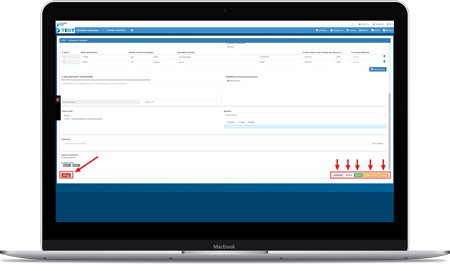


Discover how to create EUR.1-certificates on the Traid-platform. We have created a step-by-step guide explaining how to create a EUR.1-certificate on our digital platform in no time.
Experience how to create a EUR.1-certificate in just 4 simple steps:
Before the creation of a EUR.1-certificate:
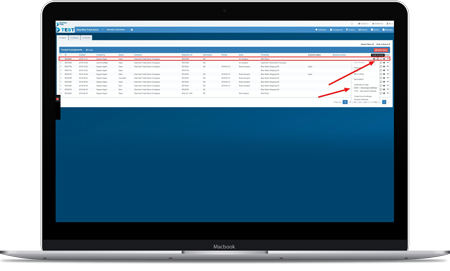
When you need to order a EUR.1-certificate, you will already have created the shipment and booked the transport with the carrier on the Traid-platform. Here you can see the overview of all your shipments.
All the information you provided when creating the shipment will automatically be retrieved when creating a EUR.1-certificate. From here you can do the following:
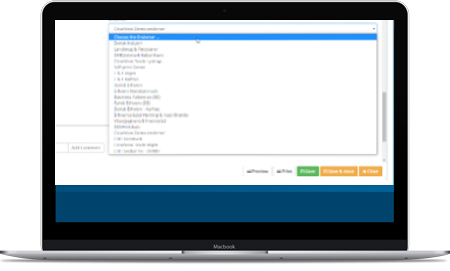
When all information is correct, you have the following 5 options before clicking “Send“:
Do you need more information about EUR.1-certificates? We have a lot of information on our website that can make you a true expert on the subject. The links below will take you to our certificate page, dictionary and FAQ. Click on the three links and learn more about EUR.1-certificates:
If you feel like this guide was comprehensive, you are more than welcome to begin creating EUR.1-certificates on the platform. You are also welcomed to book a free demo if you want further clarification on the EUR.1-module.
The demo is an energetic guided online tour, and it takes about 30 minutes. Look forward to working on a platform that digitizes and automates your daily workflows.

Knowledge
Get tips straight in your inbox
Get inspired and find out how you can streamline your export processes and logistics
Reach out – we’re ready to help:
Phone: +45 53 50 35 90 | info@clearviewtrade.com
Platform
Get tips straight in your inbox
Get inspired and find out how you can streamline your export processes and logistics
Reach out – we’re ready to help:
Phone: +45 53 50 35 90 | info@clearviewtrade.com